User Roles and Permissions Guide
In this guide, discover how to create a new user, and manage user roles and permissions in your Brooky Web App.
·
1 min read
Who is this for?
This guide is for system administrators, or administration staff who is in charge of User Roles and Permissions in your Brooky Web Application. In this guide, you will learn:
- Where to Access the User Roles and Permissions Module
- Creating a New User
- Managing User Roles and Permissions
A. Where to Access User Roles and Permissions Module
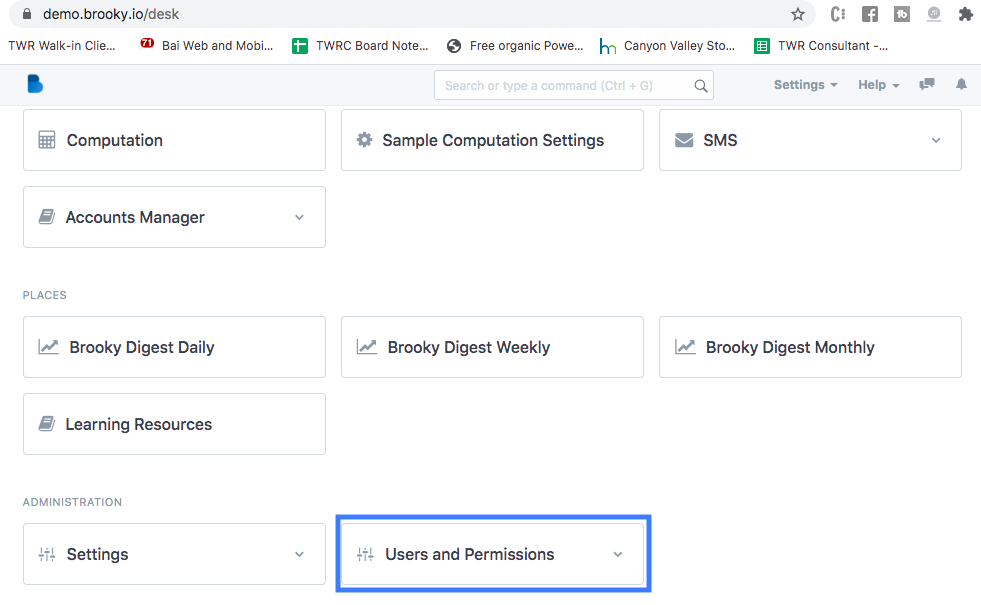
In your Brooky Web App dashboard, scroll down to the Administration section and click on the "Users and Permissions" Module. Note that only users who have been designated with the role "System User" can access this module.
B. Creating a New User
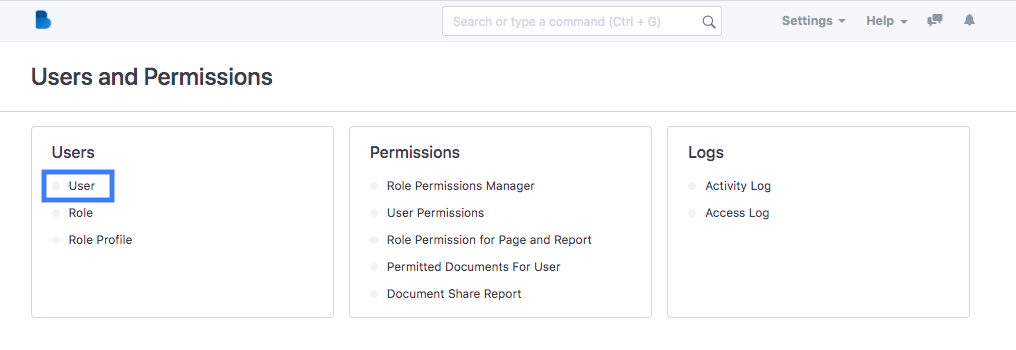
- Click on the Users and Permissions Module
- Click on the User Tab
 3. Click on "New"
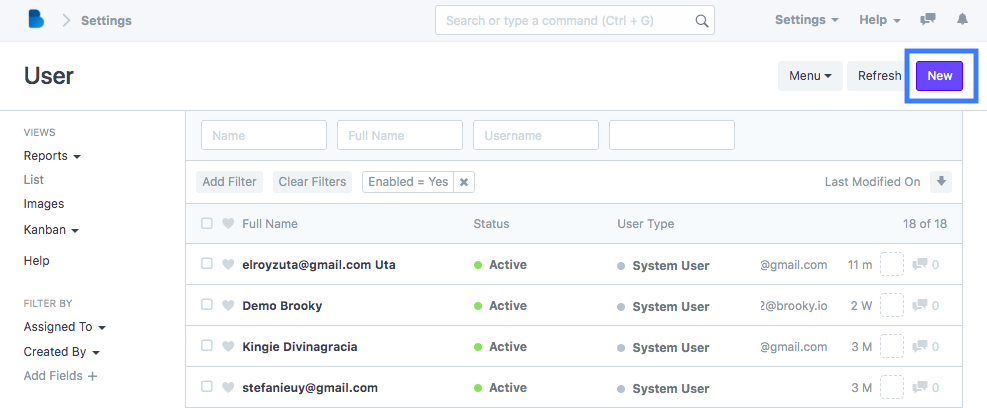
4. Type the email address, first name, and last name of the person you want to create as a new user, and click Save. Make sure to tick the "send Welcome Email" box.
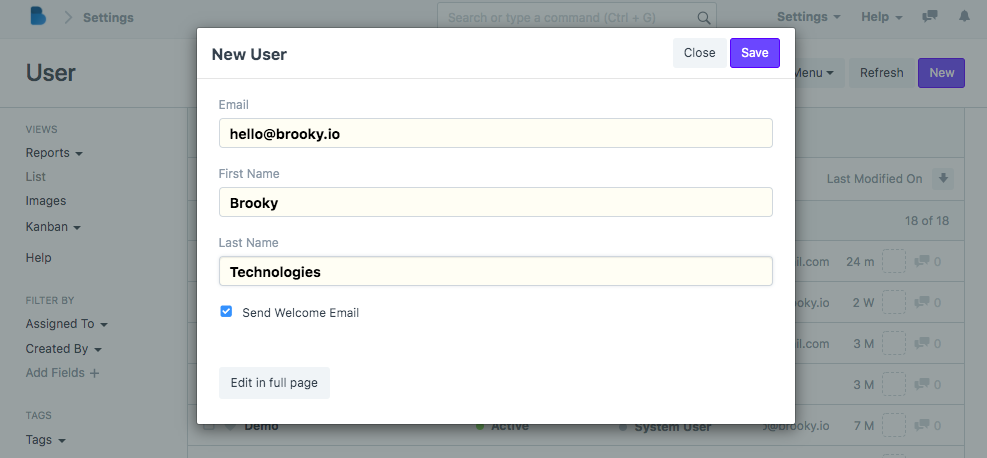
A Welcome Email will be sent to the user. Congratulations! You have successfully created a new user.
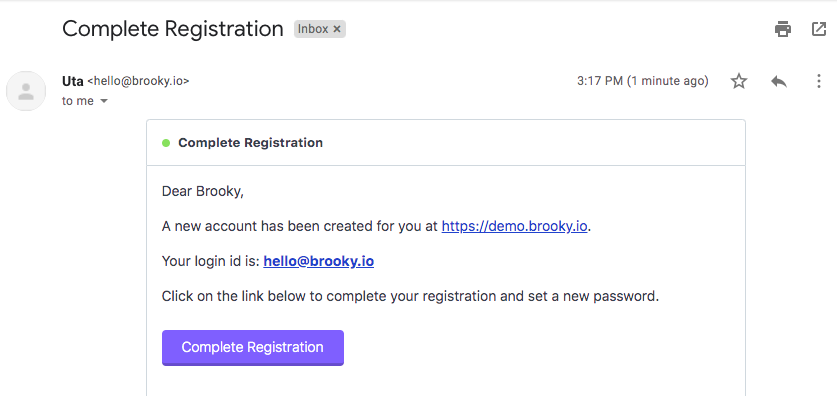
5. Ask the user to check their email inbox for a Welcome Email from Brooky. Request the user to complete their registration by clicking on the "Complete Registration" Tab in their welcome email.
6. Once the new user clicks on the Complete Registration tab, he will be directed to your Brooky Web App log in page and asked to create a password.
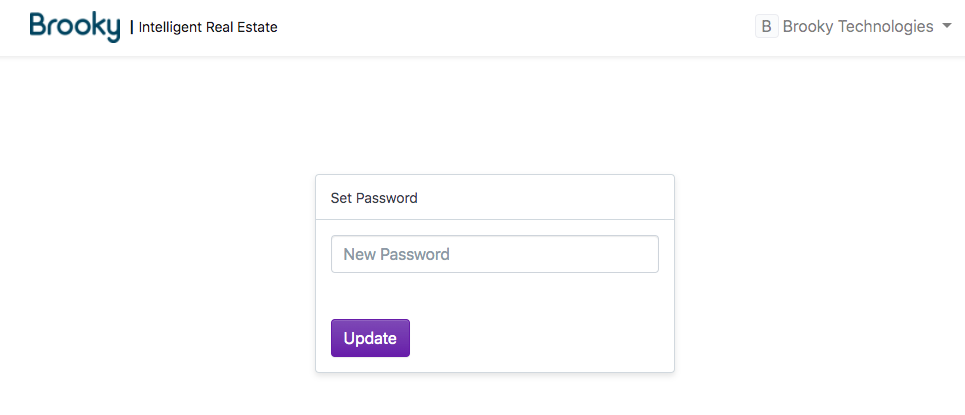
Once the user sets his password, he can now log in to your Brooky Web App using his email and password. Congratulations! You now have a new user!
No comments yet. Login to start a new discussion Start a new discussion